untung99.homes: How to Make a Brush in Illustrator
Untung99 menawarkan beragam permainan yang menarik, termasuk slot online, poker, roulette, blackjack, dan taruhan olahraga langsung. Dengan koleksi permainan yang lengkap dan terus diperbarui, pemain memiliki banyak pilihan untuk menjaga kegembiraan mereka. Selain itu, Untung99 juga menyediakan bonus dan promosi menarik yang meningkatkan peluang kemenangan dan memberikan nilai tambah kepada pemain.
Berikut adalah artikel atau berita tentang Harian untung99.homes dengan judul untung99.homes: How to Make a Brush in Illustrator yang telah tayang di untung99.homes terimakasih telah menyimak. Bila ada masukan atau komplain mengenai artikel berikut silahkan hubungi email kami di koresponden@untung99.homes, Terimakasih.
As a digital artist, you’re constantly looking for new ways of visually enhancing your illustrations, one of the most commonly used methods being that of applying textures through the use of brushes. You could always download one, but you can also learn how to create a brush in Illustrator yourself!
In this tutorial, I’m going to share with you some of my secret recipes and bring you along as I start building three different brushes from scratch. Then I’ll show you how you can use them to bring your illustration to life.
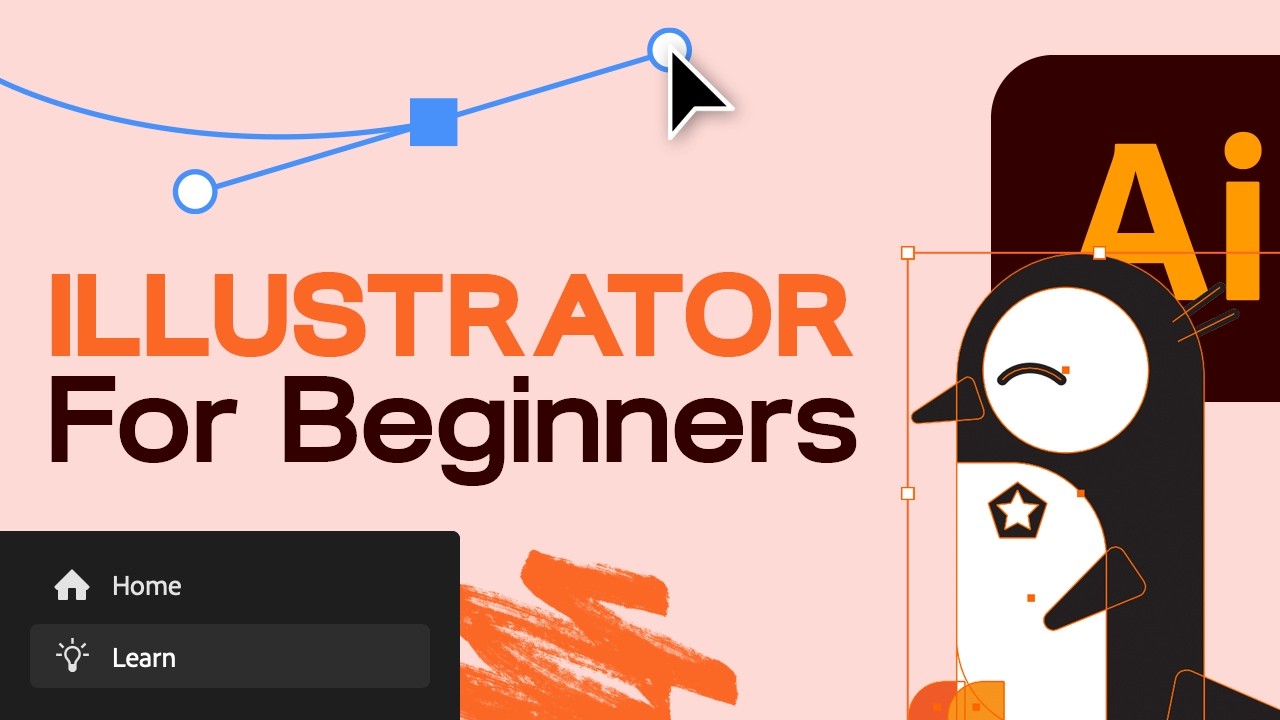
You can view this video and many more on our Envato Tuts+ YouTube Channel.

What You’ll Learn in This Illustrator Brush Tutorial
- How to use the default Illustrator brushes
- How to set up a new document
- How to create a paint brush in Illustrator
- How to create a scatter brush in Illustrator
- How to create a texture brush
- How to add the custom brushes to the Brush Library
1. How to Use the Default Illustrator Brushes
Before we begin, I wanted to point out that by default, the software comes packed with a couple of brush packs, which can be found by opening up the Brushes panel and clicking on the Brush Libraries Menu.
Here, you’ll find eight distinct categories, which contain different brush types that you can select and then use with the help of the dedicated Paintbrush Tool (B).


While they’re not bad by any means, in some cases they might end up limiting your creativity, which is why sometimes you’ll want to take the time to create one of your own in order to fill a specific need.


In our case, we’re going to take a look at the process of creating a custom paint brush, a scatter brush, and a texture brush, using nothing more than some basic geometric shapes and effects.
2. How to Set Up a New Document
Let’s kick off our little project by heading over to File > New, or by using the Control-N keyboard shortcut in order to create a New Document, which we will adjust as follows:
- Profile: Web
- Number of Artboards: 3
- Spacing: 120 px
- Width: 600 px
- Height: 280 px


3. How to Create a Paint Brush in Illustrator
Now that we’ve finished setting up our project file, we can zoom in on the first Artboard, where we’re going to gradually build our custom Paint Brush.
Step 1
Before we start learning how to make a brush in Illustrator, we’ve got some cleaning up to do. We’re going to want to clear out all the default brushes. To do so, simply open up the Brushes panel, and then from its Advanced menu, click on Select All Unused, and remove them using the Delete Brush button.


Step 2
Once you’re done, select the Blob Brush Tool, which can be found underneath the Paintbrush Tool or by using the Shift-B keyboard shortcut, and then draw a short horizontal line, making sure to keep it as straight as possible.


Step 3
As soon as you have your line, switch over to the Eraser Tool (Shift-E) and then adjust its shape by cutting off its round ends, making sure to remove the remaining segments afterwards.


Step 4
Next, we’re going to give it a more hand-made look by heading over to Effect > Distort & Transform > Roughen, which should bring up a new window prompt that will allow us to fine-tune the effect as follows:
- Size: 1 px (Absolute)
- Detail: 4
- Points: Smooth
As soon as you hit OK, Illustrator will apply the effect to the shape as a live effect, which we’re going to change by heading over to Object > Expand Appearance.


Step 5
Create two copies of the resulting shape, which we will position above and below the original, making sure to adjust them afterwards by shortening their width and height in order to add variation.


Step 6
Once you’re happy with the result, select all three shapes and combine them into a single larger one by opening up the Pathfinder panel and using its Unite Shape Mode.


Step 7
Before we move on, we need to change the color of the resulting shape, since otherwise we might not be able to do it afterwards when we turn it into a brush.


Step 8
All you have to do now is open up the Brush panel and click on the New Brush button, making sure to set the Brush Type to Art Brush.


Step 9
Once you hit OK, a new window prompt will appear, giving you a couple of options. We’ll want to give our brush a custom name, leaving all the other settings as they are—all except for the Colorization Method, which we will set to Tints and Shades.


Step 10
As soon as we hit OK, our newly created brush should now be added to the Brushes panel, which means that we can select the Paintbrush Tool (B) and test it out.


4. How to Create a Scatter Brush in Illustrator
Once we’ve finished working on our first brush, we can move on down to our second Artboard, where we’re going to take a look at the process of making a scatter brush in Illustrator.
Step 1
Start by selecting the Ellipse Tool (L) and using it to draw a 64 x 64 px circle, which we will position in the center of the underlying Artboard.


Step 2
Give the shape a custom grain effect by heading over to Effect > Photoshop Effects > Texture > Grain and setting it as follows:
- Intensity: 20
- Contrast: 100
- Grain Type: Stippled


Step 3
Next, we need to turn the resulting effect into a raster image, so that we can trace it later on. To do this, head over to Object > Rasterize, and then make sure that the Resolution is set to Screen, the Background to Transparent, and the Anti-aliasing to Art Optimized, and hit OK.


Step 4
Once we’ve rasterized the effect, we can now open the Image Trace panel, which can be found under the Window top menu.
Here, we’re going to leave the Preset to Default, and then set the Mode to Black and White, making sure to enable the little Preview box.
Moving on down, we have the Threshold, which we’re going to set to 120, followed by an Advanced menu, which we’ll want to expand.
Set the Paths to 64%, the Corners to 0%, and the Noise to 1 px, making sure to enable the Ignore White option.
Since the grain effect is always randomized, you might get a slightly different result, so if you feel that you need to adjust some of the tracing values, please go ahead and do so.
Once you’re done, click the Expand button, which should give you a vectorized trace of the rasterized grain effect.


Step 5
Since we want to be able to use the brush on smaller surfaces, we’re going to select the resulting trace and then scale it down by half. So right-click and then go to Transform > Scale and enter a value of 50% in the Uniform input box.


Step 6
As with the previous brush, we need to change the color of the resulting trace, since otherwise we won’t be able to do so once we turn it into a brush.


Step 7
All we have to do now is open up the Brushes panel and create a new Scatter Brush, making sure to give it a custom name.
As you can see, we can’t preview any of the adjustments in this initial window, so we’re going to leave all of the options as they are, and then draw a short line using the Paintbrush tool. We can then double-click on our custom brush from within the panel, which should now give us the preview option.
We’ll want to start by lowering the Spacing to about 60%, and then setting the Rotation to Random, giving it a minimum value of 8° and a maximum one of 48°.
Finally, make sure you set the Colorization Method to Tints and Shades and then simply hit OK in order for the changes to take effect.
The software will then ask us if we want to apply the changes to our existing brush stroke, which we do.


5. How to Create a Texture Brush
Once you’re done, position yourself on the remaining Artboard, where we will create our third and last brush in Illustrator.
Step 1
Start by creating an 80 x 32 px rectangle, which we will position in the center of the underlying Artboard.


Step 2
Once you have the shape in place, give it a custom grain effect by heading over to Effect > Photoshop Effects > Texture > Grain and setting its Intensity to 4 and the Contrast to 32.


Step 3
Next, we’re going to want to rasterize the resulting effect as we did for the previous brush, in order to be able to trace it afterwards.
Once you’re done, go through the same tracing process, only this time set the Threshold to 96, the Paths to 84%, the Corners to 0%, and the Noise to 1 px, making sure to enable the Ignore White option.


Step 4
Expand the trace, and then turn the resulting effect into an Art Brush, giving it a custom name, and making sure to set its Colorization Method to Tints and Shades.


6. How to Add the Custom Brushes to the Brush Library
All we have to do now is add the custom brushes to our library so that we can access them within any future project.
Step 1
To do so, simply open up the Brush Libraries Menu and click on Save Brushes, making sure to give the file a custom name.


Step 2
You can then access the brushes by opening up the Brush Libraries Menu again and checking under User Defined.


Awesome Brushes for Adobe Illustrator From Envato Elements
Now that you know how to make a brush in Illustrator, you’ll be able to create them whenever you’d like. But if you want to just download one and start using it right away, then you’ll want to head to Envato Elements. You’ll have access to unlimited creative assets, including brushes for Adobe Illustrator.
Here are five of the options available to you on the all-you-can-download platform:


This set of brushes for Adobe Illustrator is perfect if you’re after a realistic pencil look. The bundle comes with 30 brushes, all created with real pencils. If you’re not able to recreate this brush on your own in Illustrator, you can use this download.


With more than 100 options, this set has just about everything you could need to create some art. These vector brushes are spread across a few different categories, like watercolor, pencil, and marker.


Stippling can add nice textures and shading to your work, but it can take time to get it right by hand. There are 30 of these brushes for Adobe Illustrator included, along with an extra 32 for Photoshop. Since you can adjust each brush, you’ll have more ways to refine the look you want.


This stylish brush set would make a great addition to any creative’s digital toolbox. They add a splash of retro to any art piece you’re working on. With 80 options that have different sizes and shapes, you’ll never run out of brushes to see out your ideas.


Watercolor is a classic painting method that you can apply to your art with this bundle. All of the 39 brushes were painted by hand and use color well. Even if you know how to make a brush in Illustrator, you can still get a lot of use from this download.
Expand Your Adobe Illustrator Skills With Envato Tuts+!
Just finished going through this quick tutorial as a beginner to Illustrator, and feel like learning more? We’ve got a full course that’s designed just for you. Learn about working with colors, fonts, and a lot more from this Adobe Illustrator for Beginners course alongside instructor Daniel Walter Scott.
I also took the time to put together this little list that should get you up and started in no time!
-


Wondering how to make a watercolor brush in Illustrator? Today you’ll learn how to do watercolor painting in Illustrator using three different methods.
-


In the following tutorial, you’ll learn how to make a spray paint brush in Illustrator and how to save Adobe Illustrator brushes.
-


In this tutorial I’ll show you how to set the pressure sensitivity in Illustrator—in every brush, regardless of the type!
-


In the following tutorial, you’ll learn how to create a Chinese ink brush in Illustrator and how to draw Chinese characters. Let’s go!
-


Want to create your own stippling brush? In this stippling brush tutorial, you’ll learn how to make a brush in Illustrator. We’ve got ready-to-use stippling…
-


The calligraphic brush is an amazing tool! Let’s take its options for a spin to get everything you can from this brush type in Illustrator.
-


In the following tutorial, you’ll learn how to use the Blob Brush Tool in Illustrator and how to adjust its settings.
-


In this tutorial, you will learn how to create a chain brush Illustrator drawing. Creating pattern brushes can save time and is a great technique to add to…
-


Learn how to make a brush in Illustrator using three simple shapes and create beautiful, natural-looking vector grass.
-


In this tutorial I’ll show you how to make a set of brushes to create a free flowing, detailed vector hair style with them.
-


In the following tutorial, you’ll learn how to make a grainy texture in Illustrator as you create a cool sand text effect for the summer!